Why is the activation code required?
The call.center™ comes with a fully-featured management portal to use in conjunction with the call.center™ softphone apps. This allows administrators to securely configure, maintain, and control apps installed on user devices, regardless of their location or operating system directly in the management portal. This means that SIP credentials and passwords are hidden from users, providing a significant layer of security for the underlying network and easy softphone application configuration flow for the user. The management portal administrator is responsible for the call.center™ device configuration, after which a single activation code is provided.
If the call.center™ app was provided to you by your system administrator or manager, please contact the responsible person to receive your device activation code.
If you are the person responsible for call.center™ app configuration, please read the instructions bellow on how to setup your device and retrieve the activation code:
Step 1. Login to your telecom.center account
- The call.center™ management portal can be accessed via your telecom.center account. Click the Sign In button in this page to be redirected to my.telecom.center, where you will gain access to the call.center management portal.
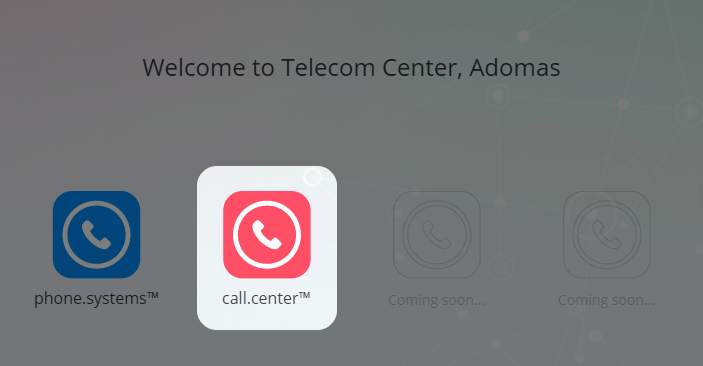
- Once you are logged in, select call.center product in the my.telecom.center dashboard.
 Important – If you do not have an account, you can create one for free at
https://my.telecom.center/registration
Important – If you do not have an account, you can create one for free at
https://my.telecom.center/registration
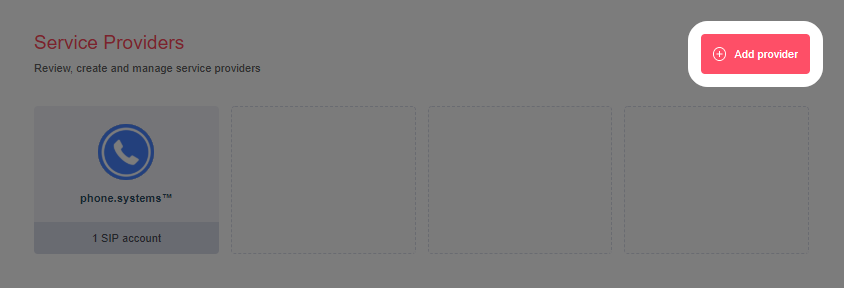
Step 2. Add a service provider
The cloud-based PBX platform phone.systems™ is the call.center™ default service provider.
- To add other SIP-compatible VoIP providers, click Add Provider.
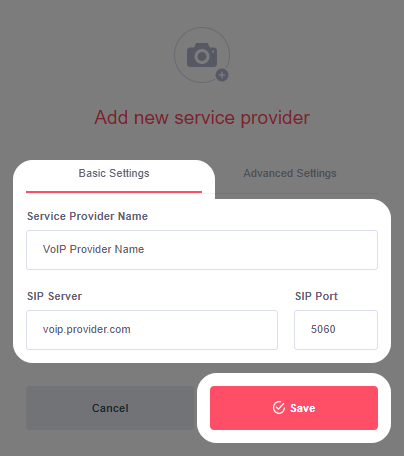
- Add service provider(s) by configuring the Basic Settings parameters.
- Service Provider Name (required) - A friendly name to reference the provider
- SIP Server (required) - The SIP host domain address
- SIP Port (optional) - The port number carrying the SIP traffic. If no value is entered, the default port 5060 is used.
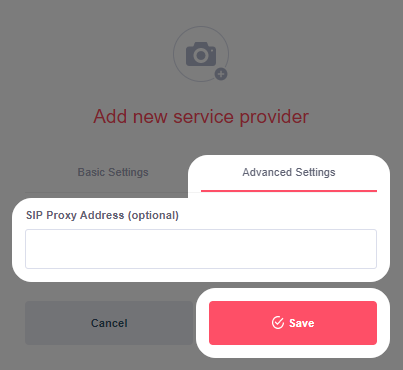
- For Advanced Settings, provide the SIP Proxy Address (optional). The service provider may require this parameter for outbound traffic.
- Click Save to complete the service provider configuration.
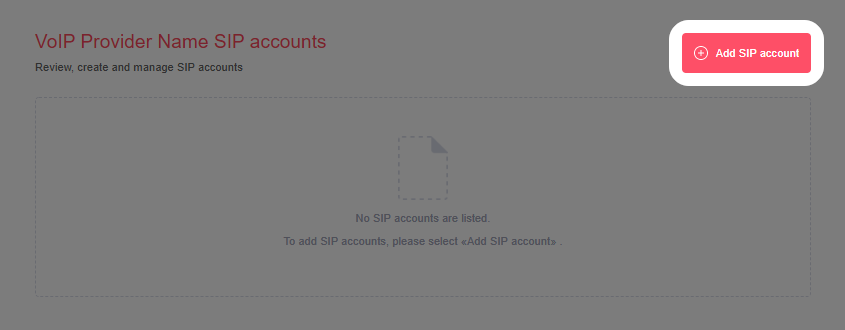
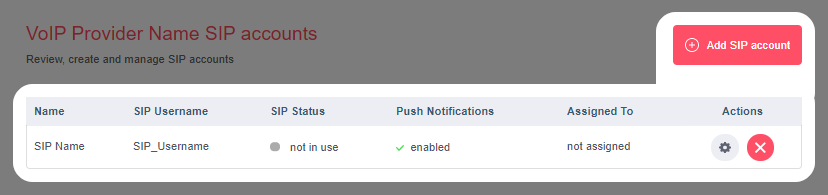
Step 3. Add a SIP account or multiple SIP accounts to the service provider
- Once a new service provider is added, click Add SIP account to add a SIP account to the service provider.
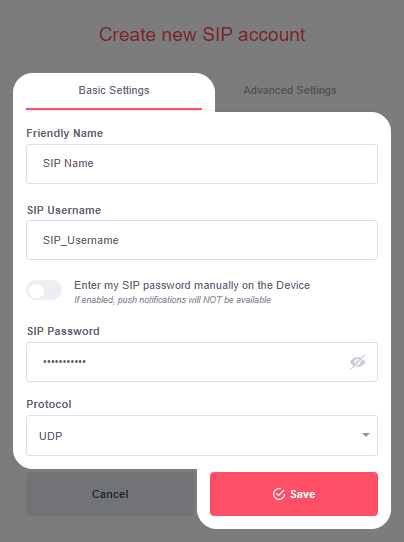
- Specify the following required Basic Settings parameters:
- Friendly Name – Enter a friendly name to reference the SIP account.
- Toggle to Enter my SIP password manually on the Device (selects where the SIP password will be entered)
- SIP Username – Specify the SIP username given by your provider
- Protocol - The underlying transport layer protocol responsible for SIP requests and responses. Select the UDP or TCP protocol option via the Protocol drop-down list.
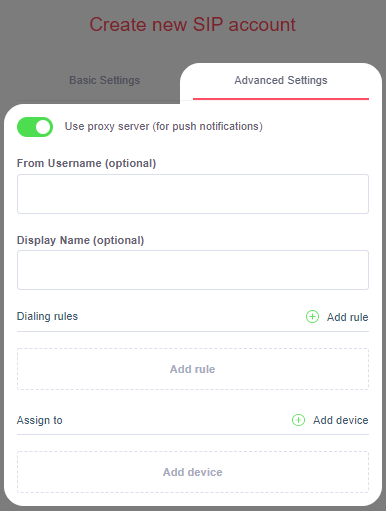
- Specify the following Advanced Settings parameters:
- Toggle to Use proxy server for push notifications (If disabled, push notifications will NOT be available).
- Authorization Username (optional) - May be required by the service provider.
- Display Name (optional) –The name of the caller for the outbound call, this usually appears when making internal calls (between extensions) using the same SIP service provider.
- Dialing rules (optional) - Rules for modifying the phone number prefixes in outbound calls.
- Click Save to complete the SIP account configuration. Additional SIP accounts may be added to this Service Provider by selecting Add SIP account.
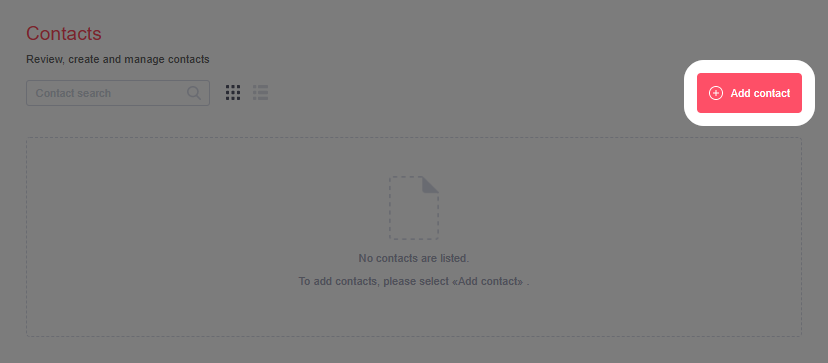
Step 4. Add a Contact
Contacts may be added, edited, or deleted on the Contacts page. Note that single or multiple devices (call.center™ end-user apps) are allocated to each contact.
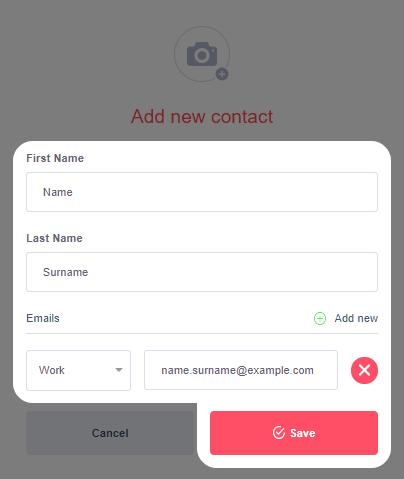
- A new contact may be added by clicking on the Add contact button.
- First Name (required) - The first name of the contact using the call.center™ app
- Last Name (required) - The last name of the contact using the call.center™ app
- Emails (required) - The email address(es) to which app download and activation instructions should be sent. An email label is also required, with the "Work" or "Home" options available for selection from a drop-down menu. Multiple email addresses may be added by clicking on the Add new button.
- The configuration of the contact is completed by clicking on the Save button.
 The configuration parameters for contacts are:
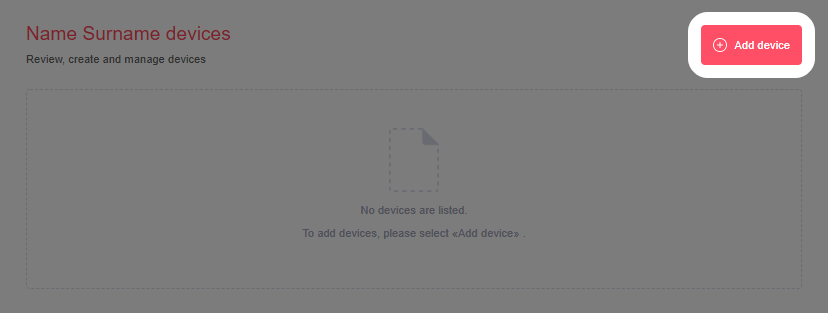
Step 5. Add a device or multiple devices to a contact
Devices, or call.center™ end-user apps, are allocated to contacts, and each device is supported by a single or multiple SIP account(s).
- Once a new contact is created, devices may be added to that contact by clicking the Add device button.
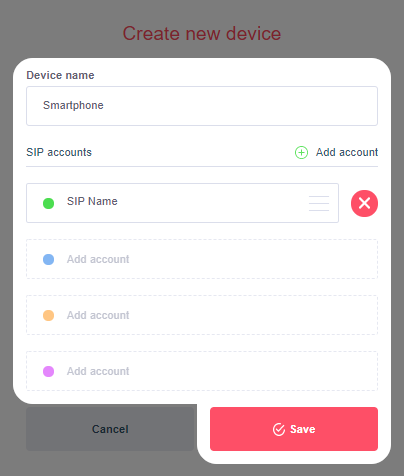
- Device Name (required) - A friendly name for the device.
- SIP accounts (required) - The SIP account(s) used to support this device. This parameter is selected from a drop-down menu that lists all of the SIP accounts previously configured for each service provider. Each device may use up to four separate SIP accounts. Use the Add account button to add SIP accounts. Delete a SIP account from a device by clicking the icon next to the account name.
- Click the Save button to complete the configuration of the device.
 The configuration parameters for devices are:
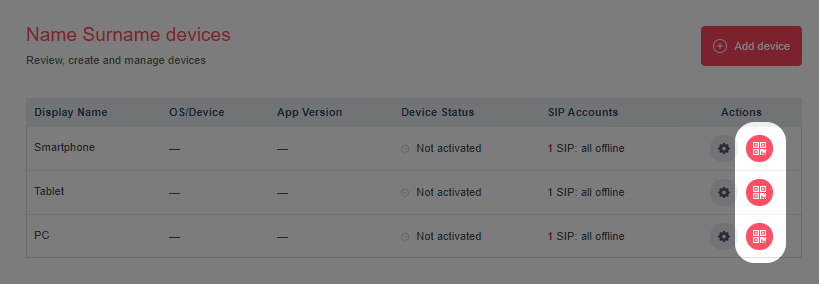
Step 6. Retrieving the activation code
- Each saved device has its own unique activation code which can be accessed by clicking the
 button.
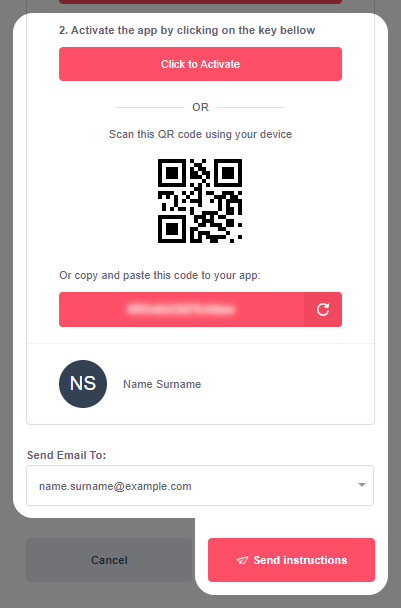
 - Device Activation Instructions page will be opened which contains the activation code as well as instructions on how to use it. A feature to send the code and full instructions to user’s email address is available.